
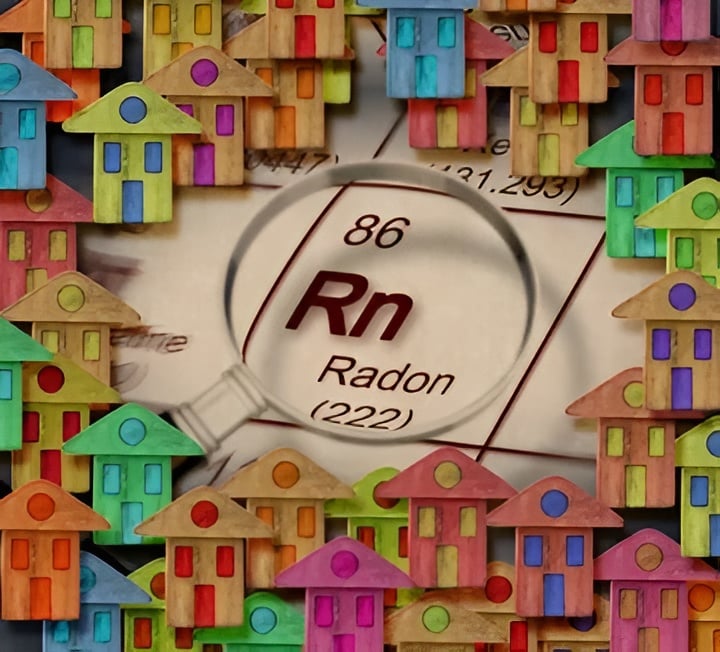
Radon is a colorless, odorless, and tasteless radioactive gas that can enter homes through cracks in the foundation, walls, or floors. Long-term exposure to high levels of radon can cause lung cancer, so it’s important to test your home for radon and take action if necessary. Here’s how to check for radon and what to do if you find it in your home.
Step 1: Purchase a Radon Test Kit
There are several types of radon test kits available for purchase, including short-term tests (2 to 90 days) and long-term tests (more than 90 days). Short-term tests are quick and easy to use, but they may not provide an accurate representation of radon levels in your home over time. Long-term tests are more expensive, but they provide a more accurate measurement of average radon levels over a longer period of time.
Step 2: Choose the Right Location for the Test
The best location for a radon test is in the lowest livable level of your home, such as a basement or crawl space. If you don’t have a basement or crawl space, test on the first floor. Avoid testing in kitchens, bathrooms, or other areas with high humidity, as this can interfere with the test results.
Step 3: Place the Test Kit in the Selected Location
Follow the instructions provided with the test kit to place it in the selected location. The test kit should be placed at least 20 inches above the floor and away from windows, doors, and other sources of ventilation.
Step 4: Wait for the Test Results
For short-term tests, wait the recommended amount of time (usually 2 to 90 days) before collecting the test kit and sending it to a laboratory for analysis. For long-term tests, wait the recommended amount of time (usually more than 90 days) before collecting the test kit and sending it to a laboratory for analysis.
Step 5: Interpret the Results
The laboratory will analyze the test kit and provide you with a radon-level report. If the radon level in your home is 4 pCi/L or higher, it’s recommended that you take action to reduce your exposure to radon.
What You Should Do if You Discover Radon in Your Home
If you find high levels of radon in your home, there are several steps you can take to reduce your exposure to the gas. Here are a few options:
- Increase ventilation: Increasing the ventilation in your home can help to reduce the concentration of radon in the air. You can do this by opening windows, using exhaust fans, and running a basement dehumidifier.
- Seal cracks and openings: Sealing cracks and openings in your foundation, walls, and floors can prevent radon from entering your home. You can use silicone caulk or expanding foam to seal these areas.
- Install a radon mitigation system: A radon mitigation system can reduce the amount of radon in your home by venting the gas to the outside before it can enter your living spaces. This typically involves installing a fan and a ventilation pipe system in your basement or crawl space.
Compliments of Virtual Results